Install Hyper-V on Windows 8 or Windows 10
Step 1: Enable Hyper-V on your Windows 8.1 / 10 laptop
Ensure that hardware virtualization support is turned on in the BIOS settings.

Save the BIOS settings and reboot the machine. At the Start Screen, type ‘turn windows features on or off’ and select that item. Select and enable Hyper-V

If Hyper-V was not previously enabled, reboot the machine to apply the change. Ensure that hardware virtualization support is turned on in the BIOS settings
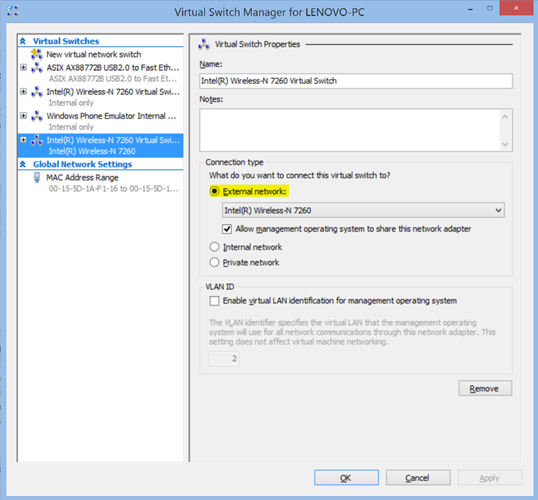
Step 2: Create a Virtual Switch for your Wireless Network
In Hyper-V Manager, select ‘Virtual Switch Manager’ in the Action pane. Ensure that you have at least one Virtual Switch that enables ‘External’ connectivity
Step 3: Download and Import the CBFM Appliance
Download CBFM Appliance here https://www.amazon.com/clouddrive/share/GsTRE8eaTjAa5A9VtxVjIH0j9kf5ZsAqbh7M2rX1qV1?ref_=cd_ph_share_link_copy and unzip the folder.
Hyper-V Manager, and select "Connect to Server...", then chose "Local Computer".
Click on "Import Virtual Machine...", then "Next", then select the uzipped folder location from above called "CBFMv20".
Click "Next", Chose Import Type "Copy the virtual machine in-place (create a new unique ID)" and click "Next".
Click "Next", and "Next", and "Finish".